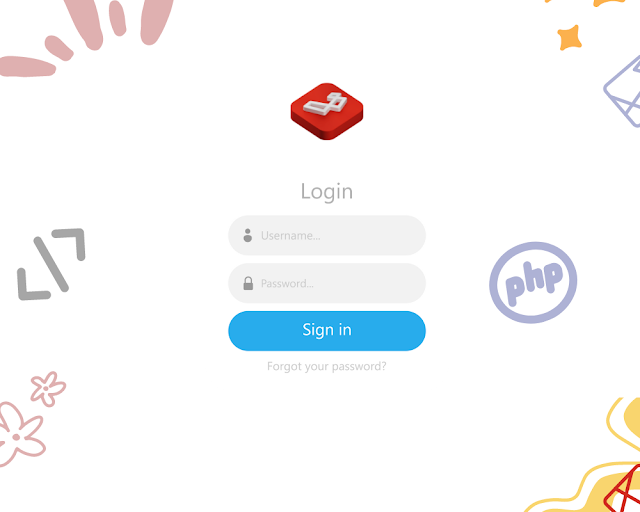
Setting Up Authentication
Laravel simplifies the implementation of user authentication with its
laravel/ui package, which provides a set of pre-built
authentication scaffolding.
-
Install Laravel UI package:
composer require laravel/ui -
Generate authentication scaffolding:
Laravel offers different front-end scaffolding options (Bootstrap, Vue, React). You can generate the authentication UI using:
php artisan ui bootstrap --authOr if you prefer Vue:
php artisan ui vue --authAfter generating the UI, install the npm dependencies and compile the assets:
npm install && npm run dev -
Run Migrations:
The authentication scaffolding uses built-in migrations to set up the required database tables for users. Run the migrations using:
php artisan migrate -
Test Authentication:
You should now have a fully functional authentication system. You can visit
/registerto create a new account or/loginto log in.
Customizing Authentication
Laravel's authentication system is highly customizable. You can customize the
login and registration logic by editing the controllers located in the
app/Http/Controllers/Auth directory.
-
Custom Redirect After Login/Registration: Modify the
$redirectToproperty in theLoginControllerorRegisterController. -
Customizing Validation: Override the
validatormethod in theRegisterControllerto change the validation rules for registration.
Implementing Authorization
Authorization in Laravel determines if a user has permission to perform a specific action. Laravel offers two primary ways to handle authorization: Gates and Policies.
Gates
Gates are a simple, closure-based approach to authorization. You define a gate
in the App\Providers\AuthServiceProvider:
use Illuminate\Support\Facades\Gate;

public function boot()
{
    $this->registerPolicies();

    Gate::define('update-post', function ($user, $post) {
        return $user->id === $post->user_id;
    });
}
To use the gate in your controller:
public function update(Post $post)
{
    if (Gate::allows('update-post', $post)) {
        // The current user can update the post...
    }
}
Policies
Policies are more structured and are typically used for complex authorization logic associated with models. To generate a policy:
php artisan make:policy PostPolicy
This command creates a policy class in the
app/Policies directory. You can define methods in this class that
correspond to actions like viewing, creating, or updating a model:
public function update(User $user, Post $post)
{
    return $user->id === $post->user_id;
}
Register the policy in the AuthServiceProvider:
protected $policies = [
    Post::class => PostPolicy::class,
];
Finally, use the policy in your controller:
public function update(Post $post)
{
    $this->authorize('update', $post);

    // The user can update the post...
}
Using Middleware for Authorization
Middleware in Laravel provides a convenient way to filter HTTP requests entering your application. Middleware can be used to handle authorization by restricting access to certain routes or groups of routes based on the user's roles or permissions.
Creating Middleware
You can create custom middleware using the Artisan command:
php artisan make:middleware CheckRole
This command creates a new middleware class in the
app/Http/Middleware directory. You can then define the logic to
check the user's role:
namespace App\Http\Middleware;

use Closure;
use Illuminate\Support\Facades\Auth;

class CheckRole
{
    public function handle($request, Closure $next, $role)
    {
        if (!Auth::check() || Auth::user()->role !== $role) {
            abort(403, 'Unauthorized action.');
        }

        return $next($request);
    }
}
Registering Middleware
Register your middleware in the app/Http/Kernel.php file under
the $routeMiddleware array:
protected $routeMiddleware = [
    'role' => \App\Http\Middleware\CheckRole::class,
];
Applying Middleware to Routes
You can now apply the middleware to specific routes or route groups:
Route::get('/admin', function () {
    // Only accessible by admin users
})->middleware('role:admin');
This example restricts access to the /admin route to only users
with the admin role.
Role-Based Access Control (RBAC)
For more complex authorization scenarios, such as Role-Based Access Control (RBAC), you can integrate packages like Spatie's Laravel Permission package:
-
Install the package:
composer require spatie/laravel-permission -
Publish the configuration file and migrate the database:
php artisan vendor:publish --provider="Spatie\Permission\PermissionServiceProvider" php artisan migrate -
Assign Roles and Permissions:
use Spatie\Permission\Models\Role; use Spatie\Permission\Models\Permission; $role = Role::create(['name' => 'admin']); $permission = Permission::create(['name' => 'edit posts']); $role->givePermissionTo($permission); $user->assignRole('admin'); -
Check for Permissions:
if ($user->can('edit posts')) {
    // The user can edit posts...
}
Conclusion
Implementing authentication and authorization in Laravel is a streamlined process thanks to the framework's robust tools and packages. Whether you're using built-in features or third-party packages like Spatie's Laravel Permission, Laravel offers everything you need to secure your application effectively.


Post a Comment